
I’m still amazed at how many photographers do not use a white balance card or even own one. The only way to achieve proper white balance is by using a white balance card. Eyeballing and adjusting it in post is not sufficient and neither is your camera’s automatic setting. I’ve been assisting on many supposedly professional video and still photo shoots and I’m just amazed when the photographer or cinematographer does not shoot a white balance card as reference when setting up a new shot or in changing lighting conditions.
First thing you need is a proper white balance card to shoot. Not a grey card but a white balance card of good quality. A grey card is used for exposure, not for white balance. And many cards that say they are for white balance are not the proper color due to manufacturing inconsistencies. I use the cards from WhiBal brand of cards:
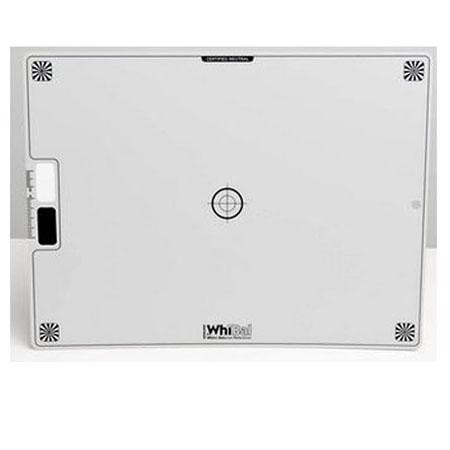
They are truly neutral and each one is tested before leaving the factory.
Once your lights are set up and your exposure set in your camera, take a shot of your white balance card.
1. Make sure that your camera is set to store your pictures in both RAW and JPEG.
2. Make sure there is no glare on the card.
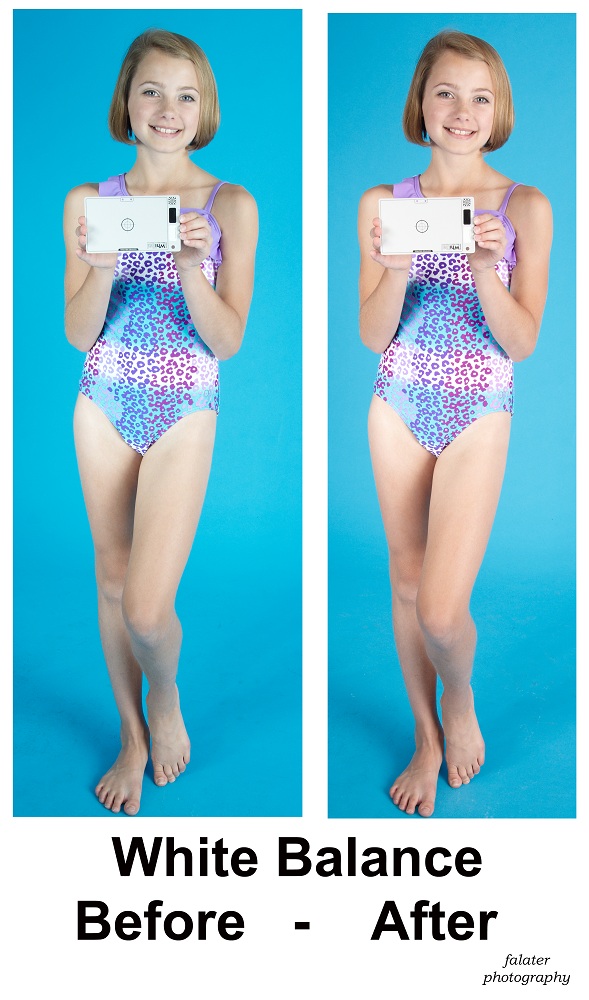
3. The card must be in the same light as your subject. (I usually have the model hold it up, as in the picture above). If you have a case where you can’t get to the subject such as shooting animals outdoors or other far away subjects, shoot the white balance card in as close to the same light as your subjects. In large outdoor areas, I just drop the white balance card on the ground and shoot it knowing my subjects will be in approximately the same light.
4. If you’re using flash whether indoors or out, make sure your shot of the white balance card is shot with the same flash and settings you intend to use. When using fill flash on an outdoor subject, hold the white balance card on your subject and use the flash and adjust according to the light falling on your subject.
5. If the lighting conditions change, shoot your white balance card again. This is especially true if shooting outdoors during sunset or sunrise or in cloudy conditions. When I’m shooting during sunrise or sunset, I’ll shoot my card every 15 minutes.
All of the white balance adjustments are done in post processing when you use software that works with the RAW files of your pictures. By ‘RAW’ I don’t mean unedited as many models and non professionals use the term. I mean the absolute RAW files directly from the camera unedited that you’re able to adjust the white balance and exposure on using sophisticated software. For Nikon, the file extension is NEF, for Canon the file extension is CRW, Minolta is MRW and so on. Don’t confuse the term raw with unedited, once a picture is converted to jpeg, the white balance and exposure is locked in and can not be adjusted.
There are many different types of software you can use to process your pictures once you download them from your camera to your computer. I use Capture One Pro.
Capture One Pro
In Capture One Pro, setting white balance from a properly used white balance card is as simple as clicking your mouse. First you open the raw file and click on the Adjust White Balance selector and then click on the grey area of the white balance card:
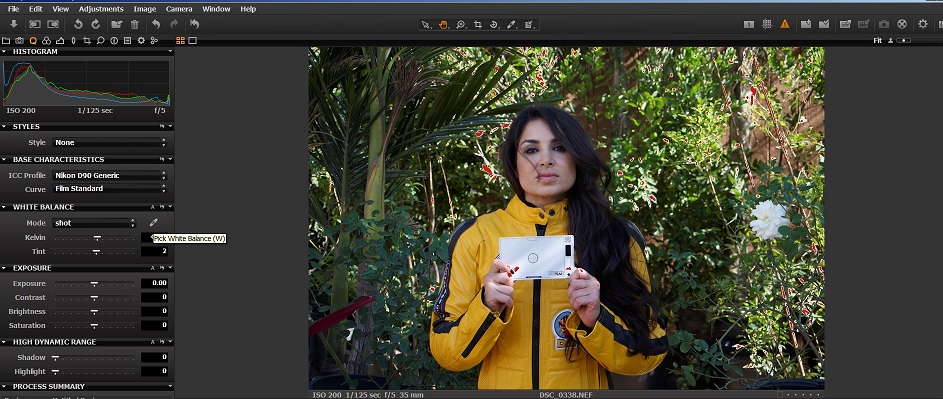
(Thanks to actor Saye Yabandeh on the set of a perfume commercial at the Bel Air Polo Club)
This changed the kelvin from 4800 and tint of 2 all the way to kelvin 6300 and tint of -1.
BEFORE AFTER
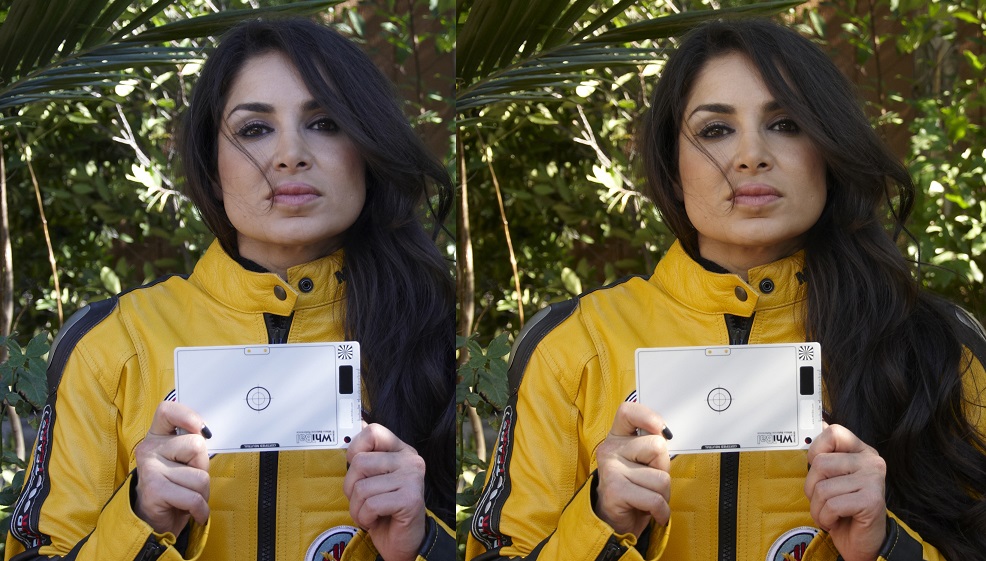
The change is a much more color correct and ‘warm’ picture. Another advantage is that all your pictures and video footage will match, this is especially important for video. If you cut to a new shot without matching the color balance, the audience will notice.
Don’t let color balance intimidate you. You don’t have to learn about the Kelvin scale or worry if you’re partially color blind. Get a good quality authentic white balance card, shoot it in the right conditions, and use software that will adjust it for you at the click of a mouse.