
For outdoor use, it’s best to mount your remote flash to a tripod.
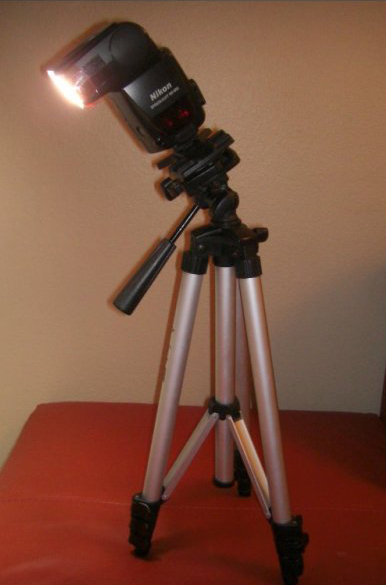
But keep in mind that you can mount it practically anywhere and in any way. Poles are useful if you want to project the light from above the models.
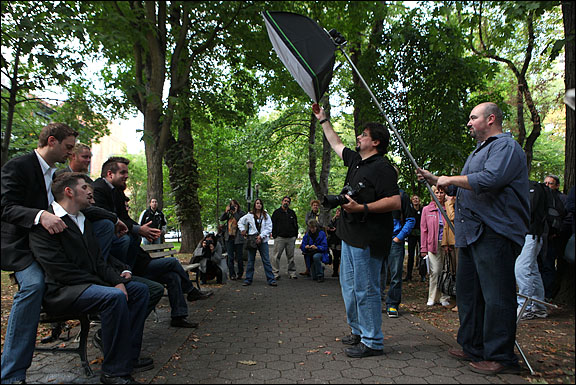
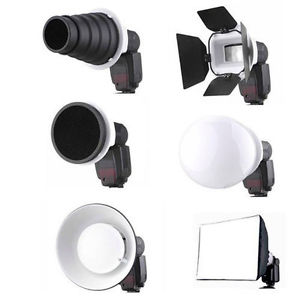
Note the use of a soft box over the speed light in the above picture. There are many light modifiers you can use with your speed light to produce even more striking effects. I will cover those in another article.
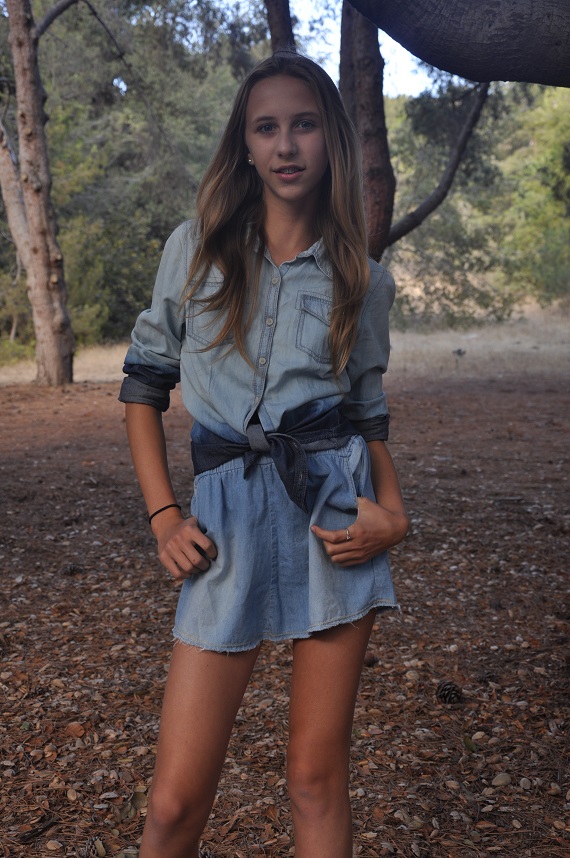
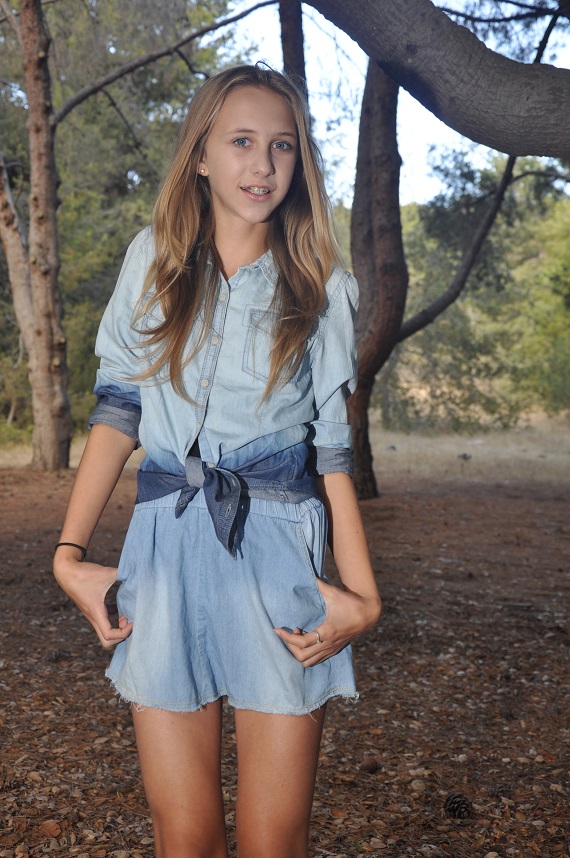
At it’s most simple, a photograph consists of two things: the background and the foreground. Typically, the foreground contains the subject matter that you want to have exposed properly but that is not always possible because the background is so bright that attempting to properly expose the darker foreground (the subject matter) will over expose the background and wash out much of the picture.
To fix that, let’s use fill flash.
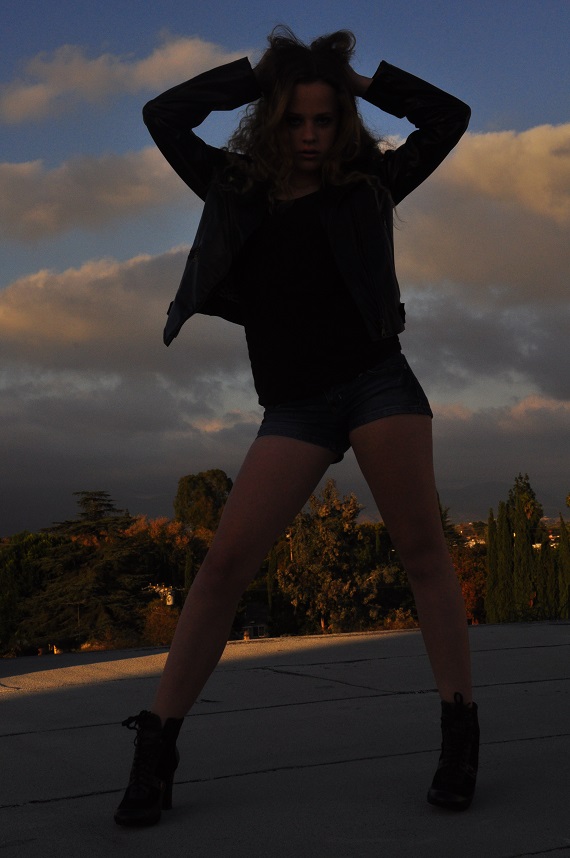
The easiest method is to first adjust your camera’s settings to properly expose the background. Ignore the subject model for now and do not use your flash. Take a few pictures until you are happy with the exposure of the background.
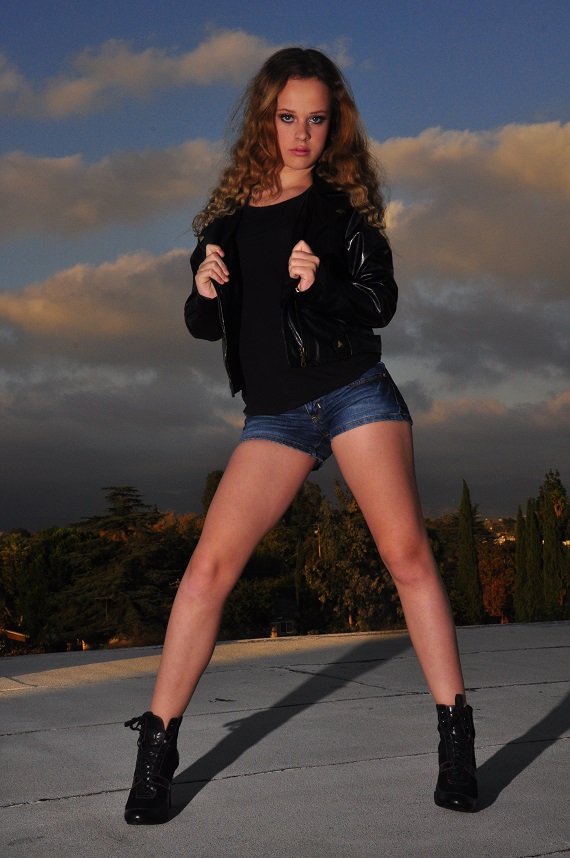
Without adjusting your camera’s settings, adjust the intensity of your flash to expose the model properly.
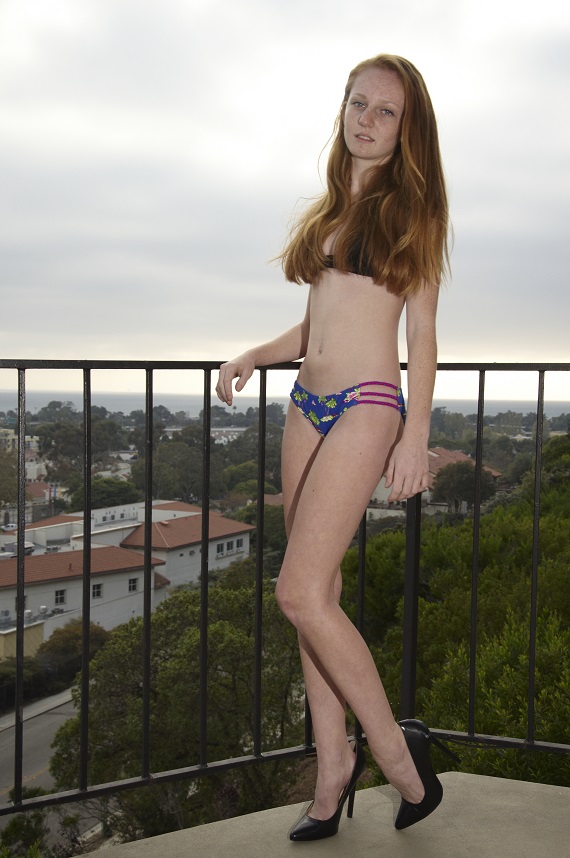
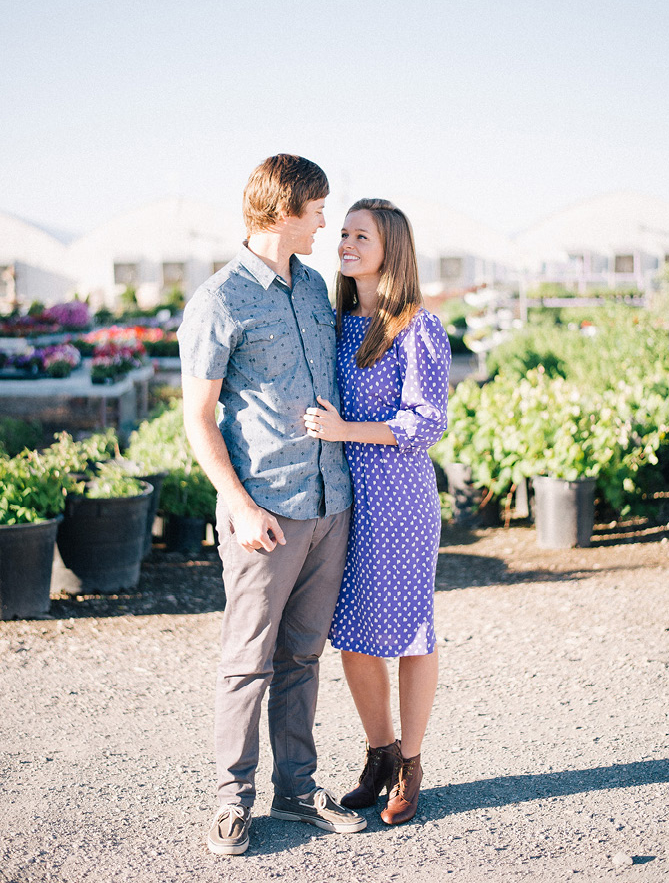
Here’s a couple more examples:
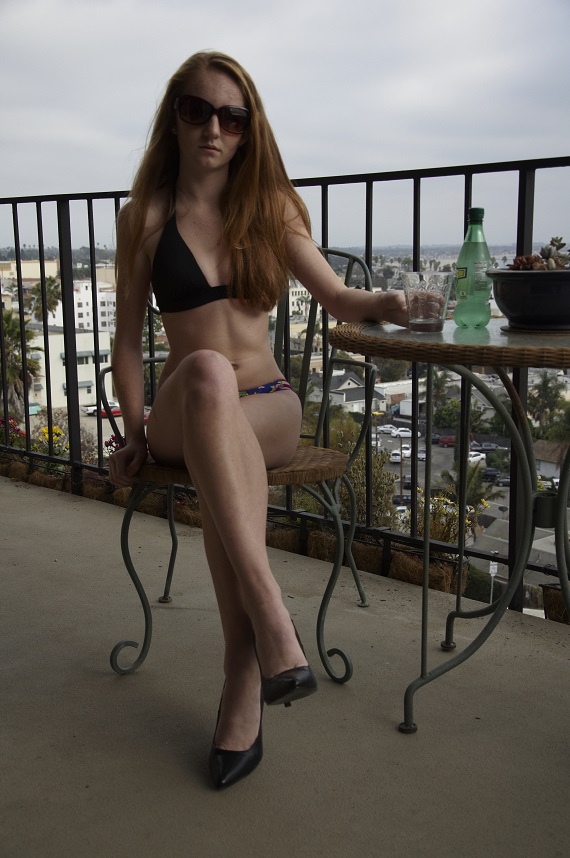

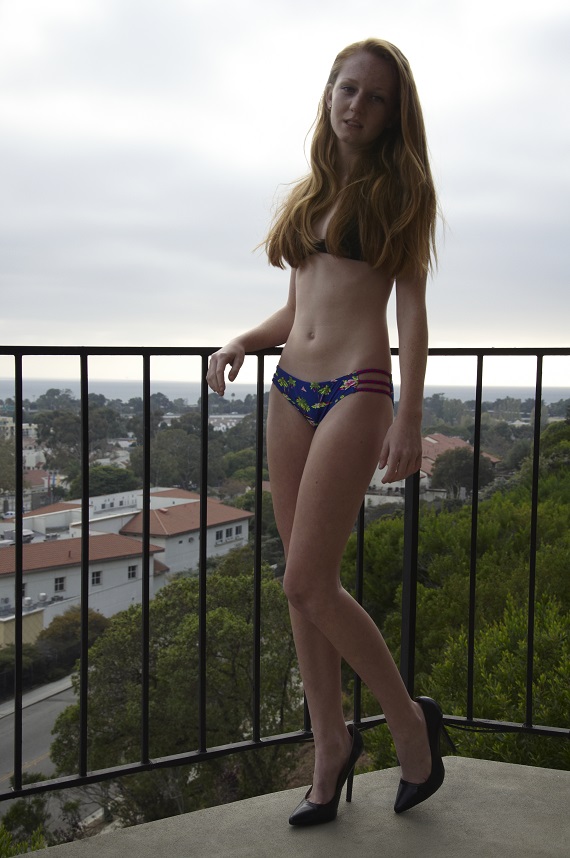
It’s as simple as using your camera’s settings to properly expose the background and using your flash intensity settings to properly expose the foreground:

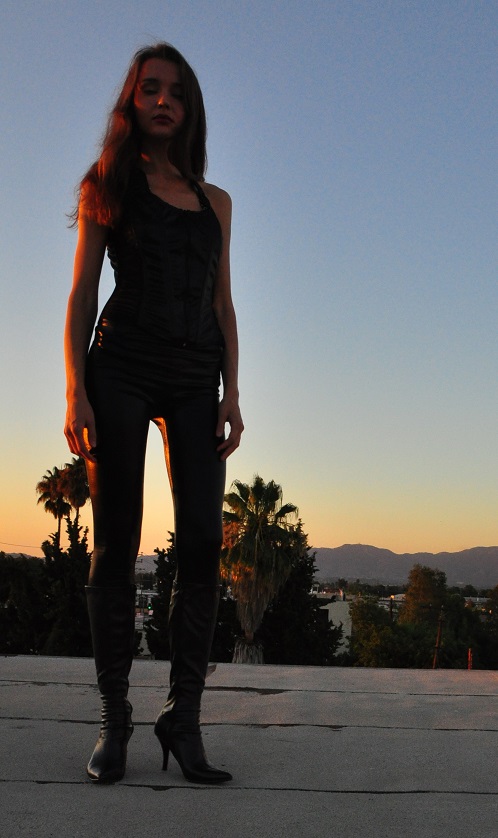
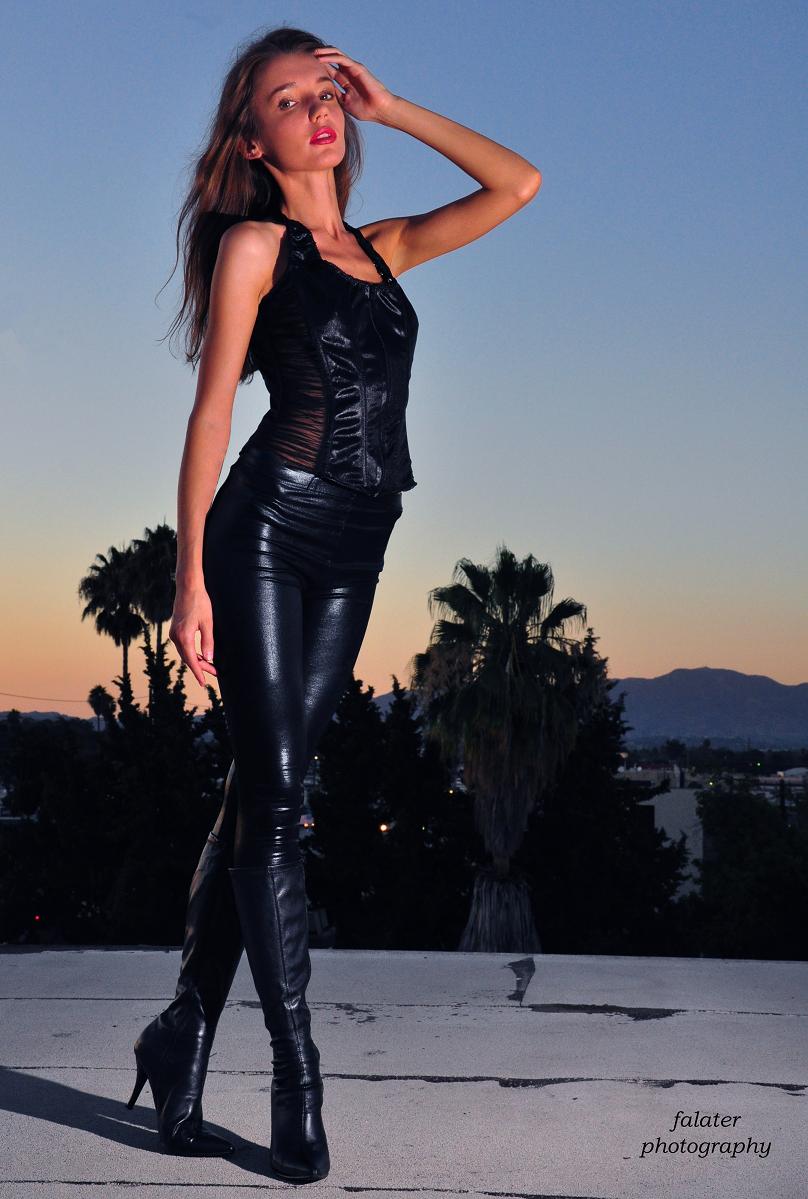
Shooting against the morning or evening sky using this method produces very dramatic photos:
Now that you’ve mastered using basic fill flash, I’ll cover the use of light modifiers for your speed light such as soft boxes, honeycomb grids, gels, go-bos, etc. in other articles. This is where the versatility of your fill light goes way beyond using simple bounce cards or boards.